Scheduling Reports
OpManager's reporting feature allows you to schedule reports at regular intervals. Furthermore, the reports can be customized, and mailed to specific recipients. The report can also be generated based on various formats. Here's what users can do with OpManager's reporting feature:
Schedule new report
- Go to Reports → Schedule Reports.
- In the Scheduler Reports Page, click the Add Schedule button on the top right.
- Configure the following details:
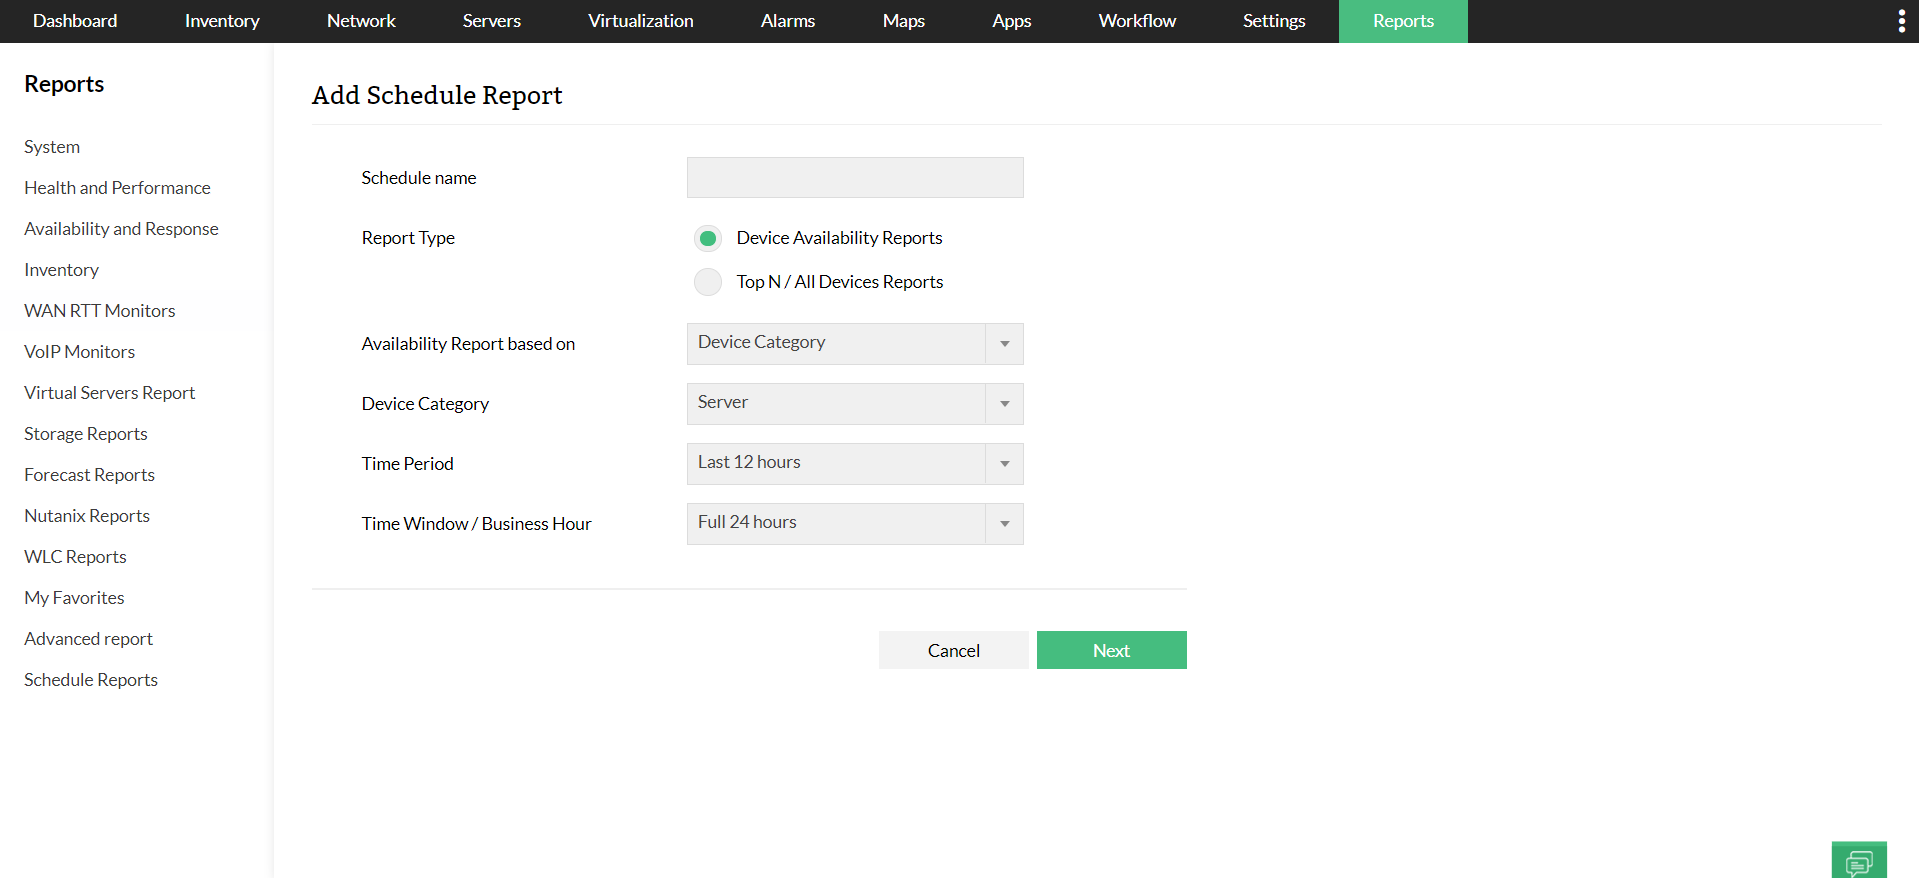
- Schedule Name: Configure a name for the schedule.
- Choose Report Type: All the available reports types can be scheduled (select either one and follow the instructions given below followed by Configuring the Time Settings)
Scheduling Device Availability reports:
- If you have chosen to schedule reports for Device availability reports and configure the following, Select either a category of devices, or the required business view, or select specific devices manually for generating the availability reports.
- Select the Period and Time Window for which you want to generate the reports.
- Select the days for which you want to exclude data in report using Exclude Days option.
Scheduling Top N Reports / All Devices reports:
- If you have selected to schedule the Top N Reports, configure the following details:
- Top N Reports: Select from Top 10/25/50/100/1000 reports.
- Period and Time Window: Choose the Period and Time Window for which you want the report scheduled. In time period, select the days for which you want to exclude data in the report using Exclude Days option.
- Select Report(s): Select the required resource reports to be scheduled.
- Generate Availability Report to all devices in this Business View: Select the relevant check-box and the business view to generate reports specific to the devices in that business view.
- Click Next
- Configuring the Schedule for generating reports:
- Daily: Select the time at which the reports must be generated every day
- Weekly: Select the time and also the days on which the reports must be generated
- Monthly: Select the time, day, and the months for which the reports must be generated
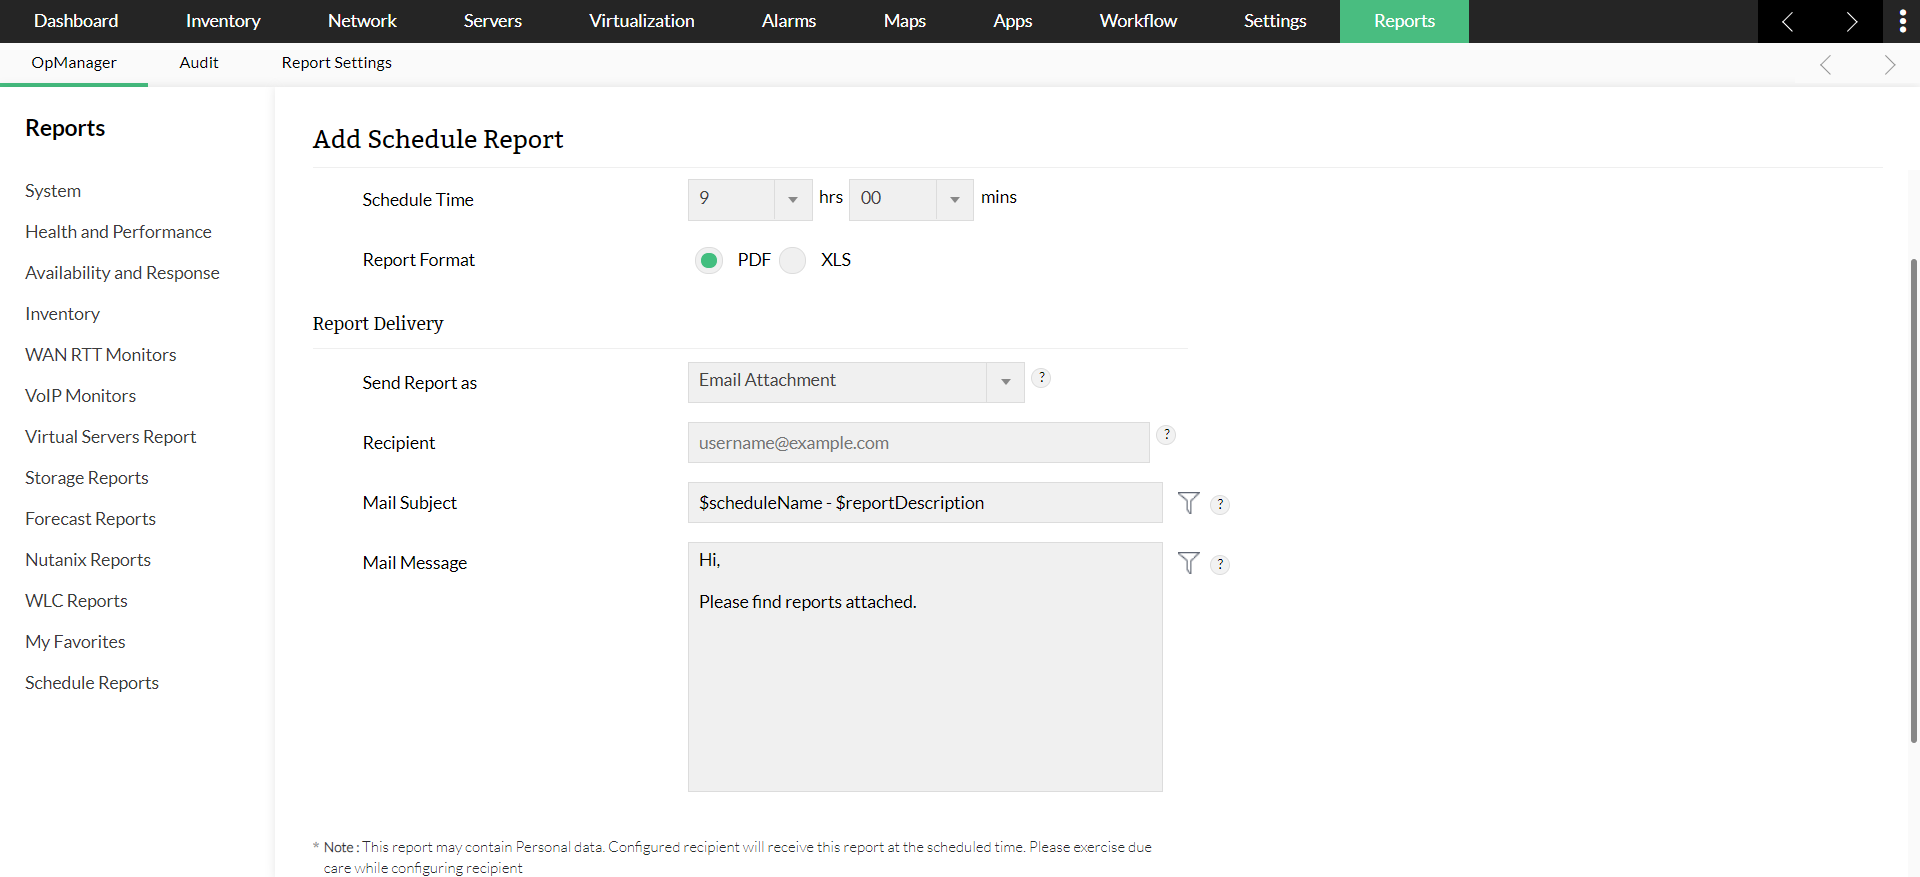
- Report Format Type: Select either PDF or XLS to receive the report in the respective formats
- Report Delivery: Select any one of the following options
- Send report as attachment to: Configure the email ids to which the reports are to be sent as attachments [or]
- Publish the report and send URL alone to: Configure the url where the reports can be published
- Add Mail Subject and Mail Message
- Verify the details of the configured schedule and hit Add Schedule for the schedule to take effect
Schedule generated report
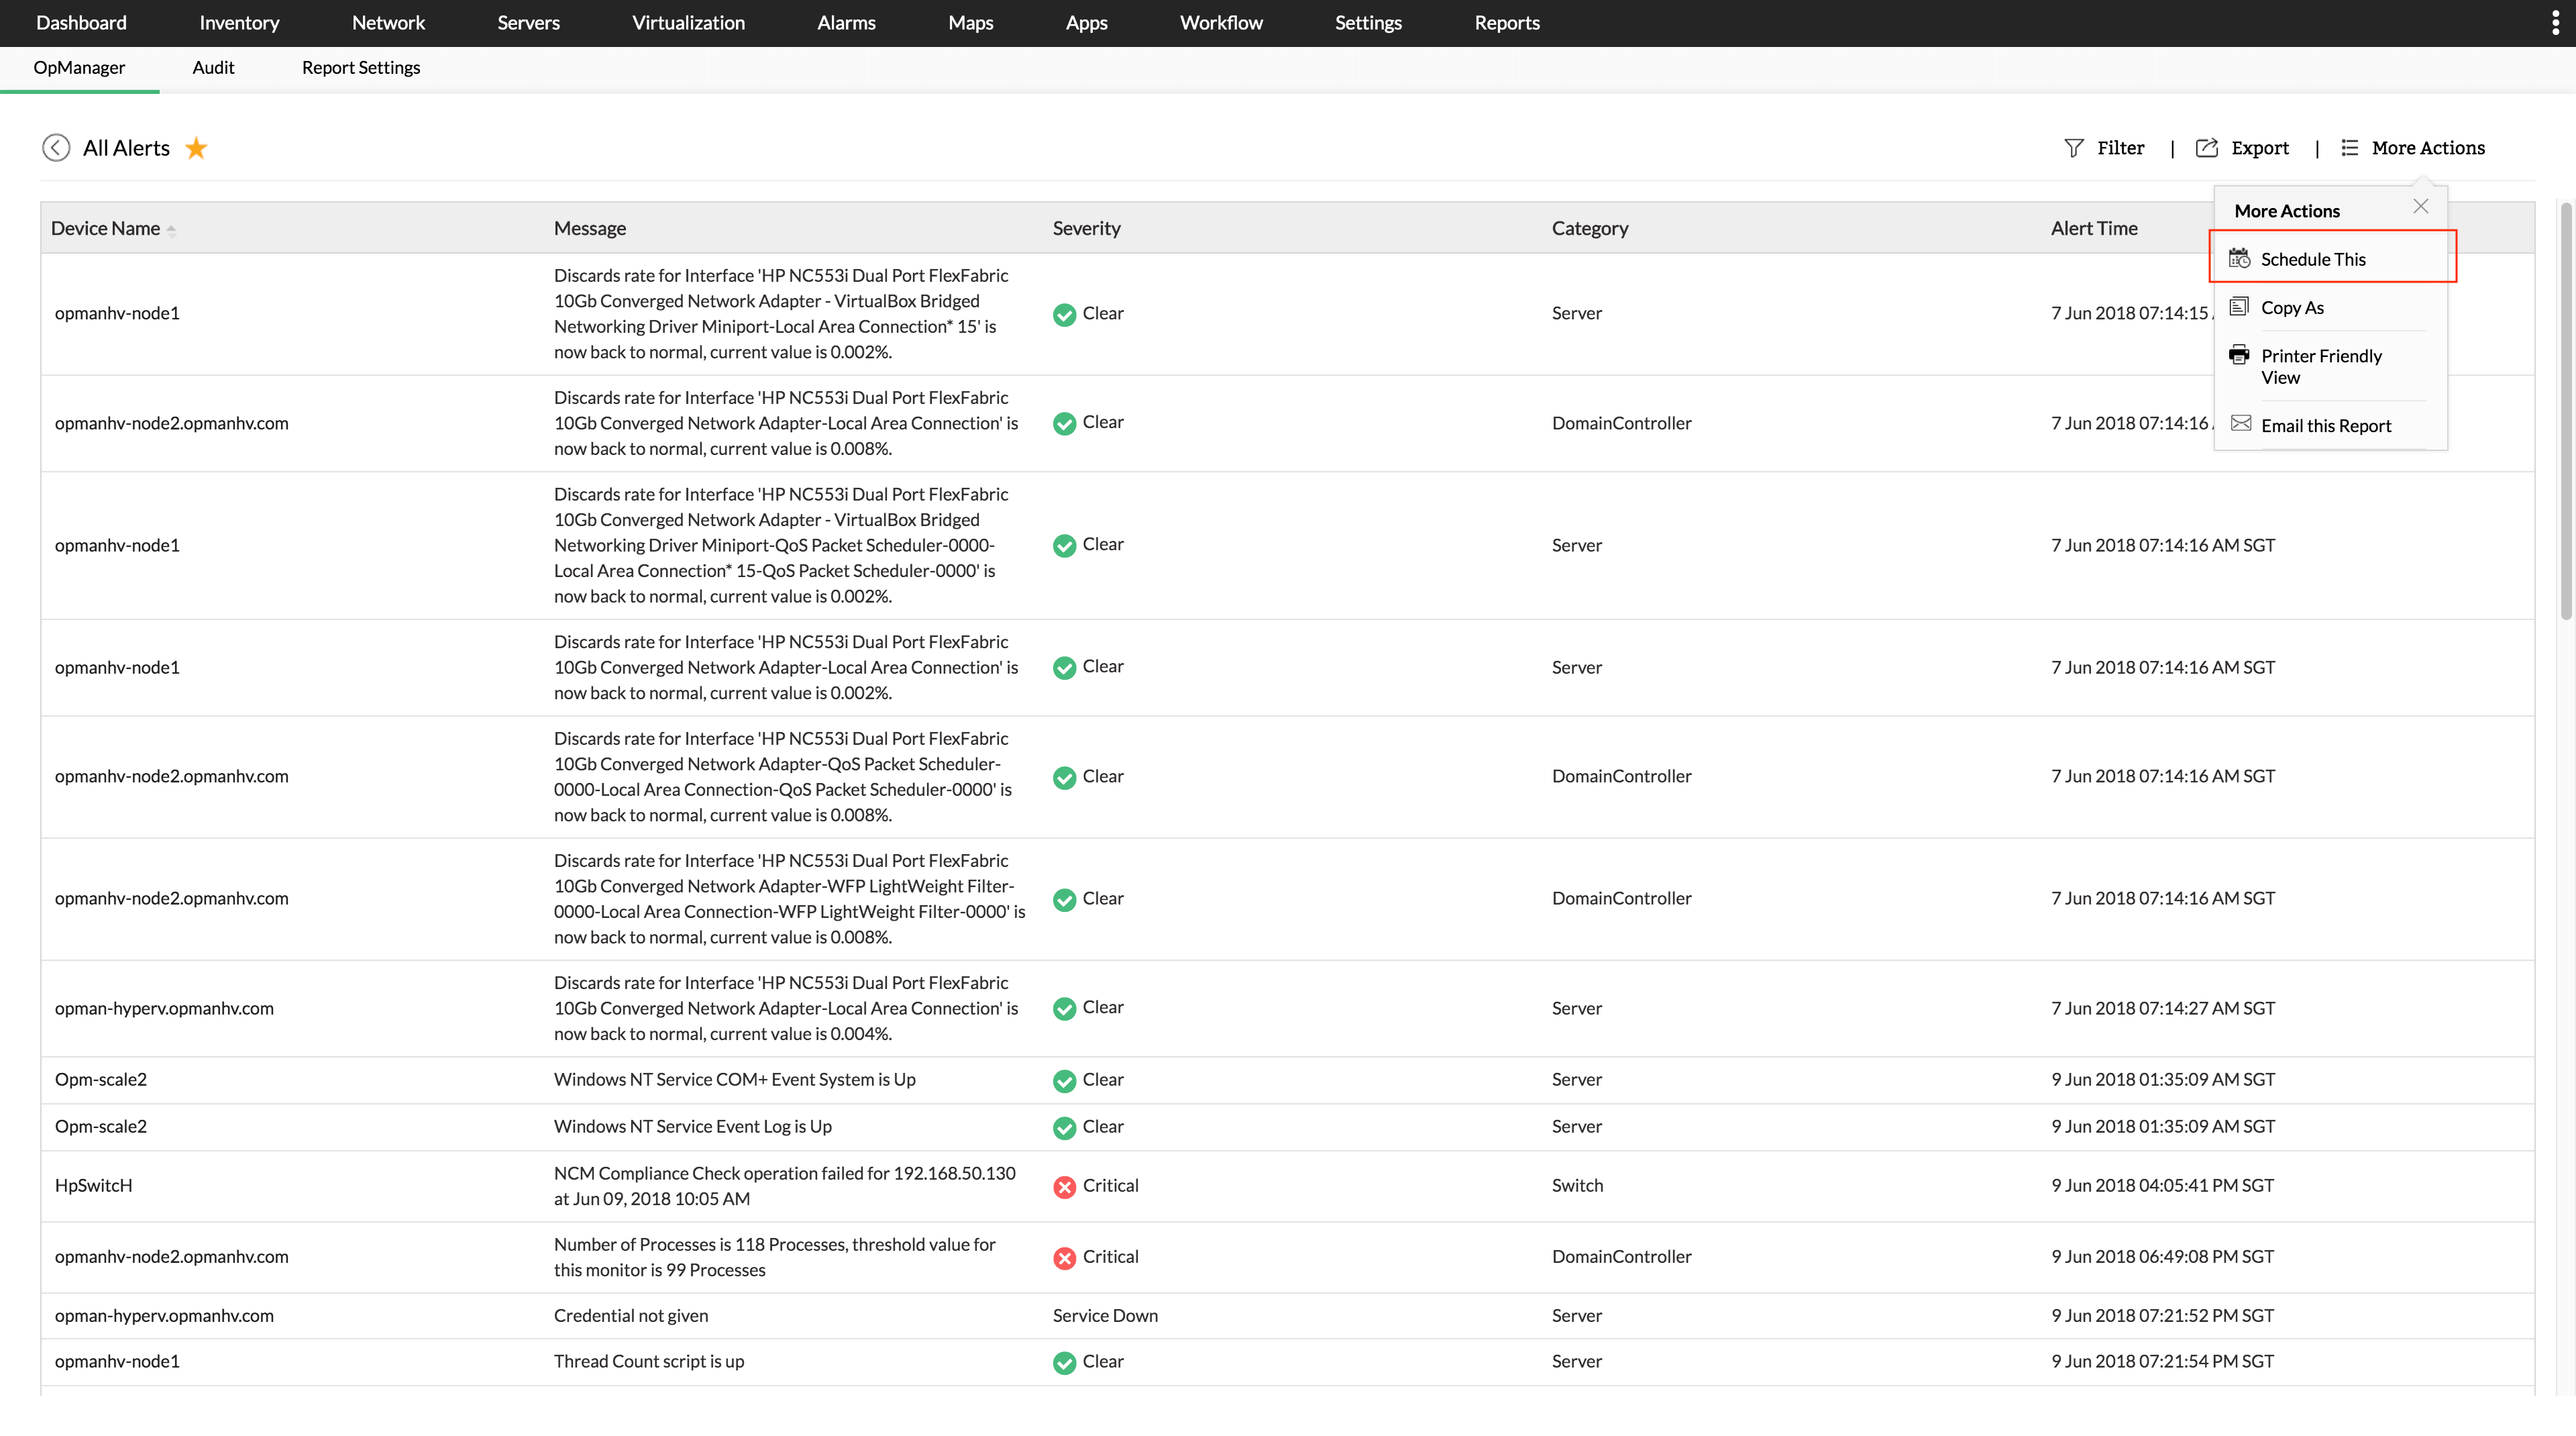
- In the report page that is generated, click Schedule Thisicon to schedule the report.
- Enter the Schedule Name
- Enter the Email ID to which the report has to be delivered
- Select the Category followed by Business View
- Select the Period and Time Window. In time period, you can select the days for which you want to exclude data in the report using Exclude Days option
- Select the Report Format (PDF or XLS)
- Select the Report Delivery Type (Attachment or URL)
- Configure the Generate Report at Daily, Weekly or Monthly
- Add the required Mail Subject and Mail Message
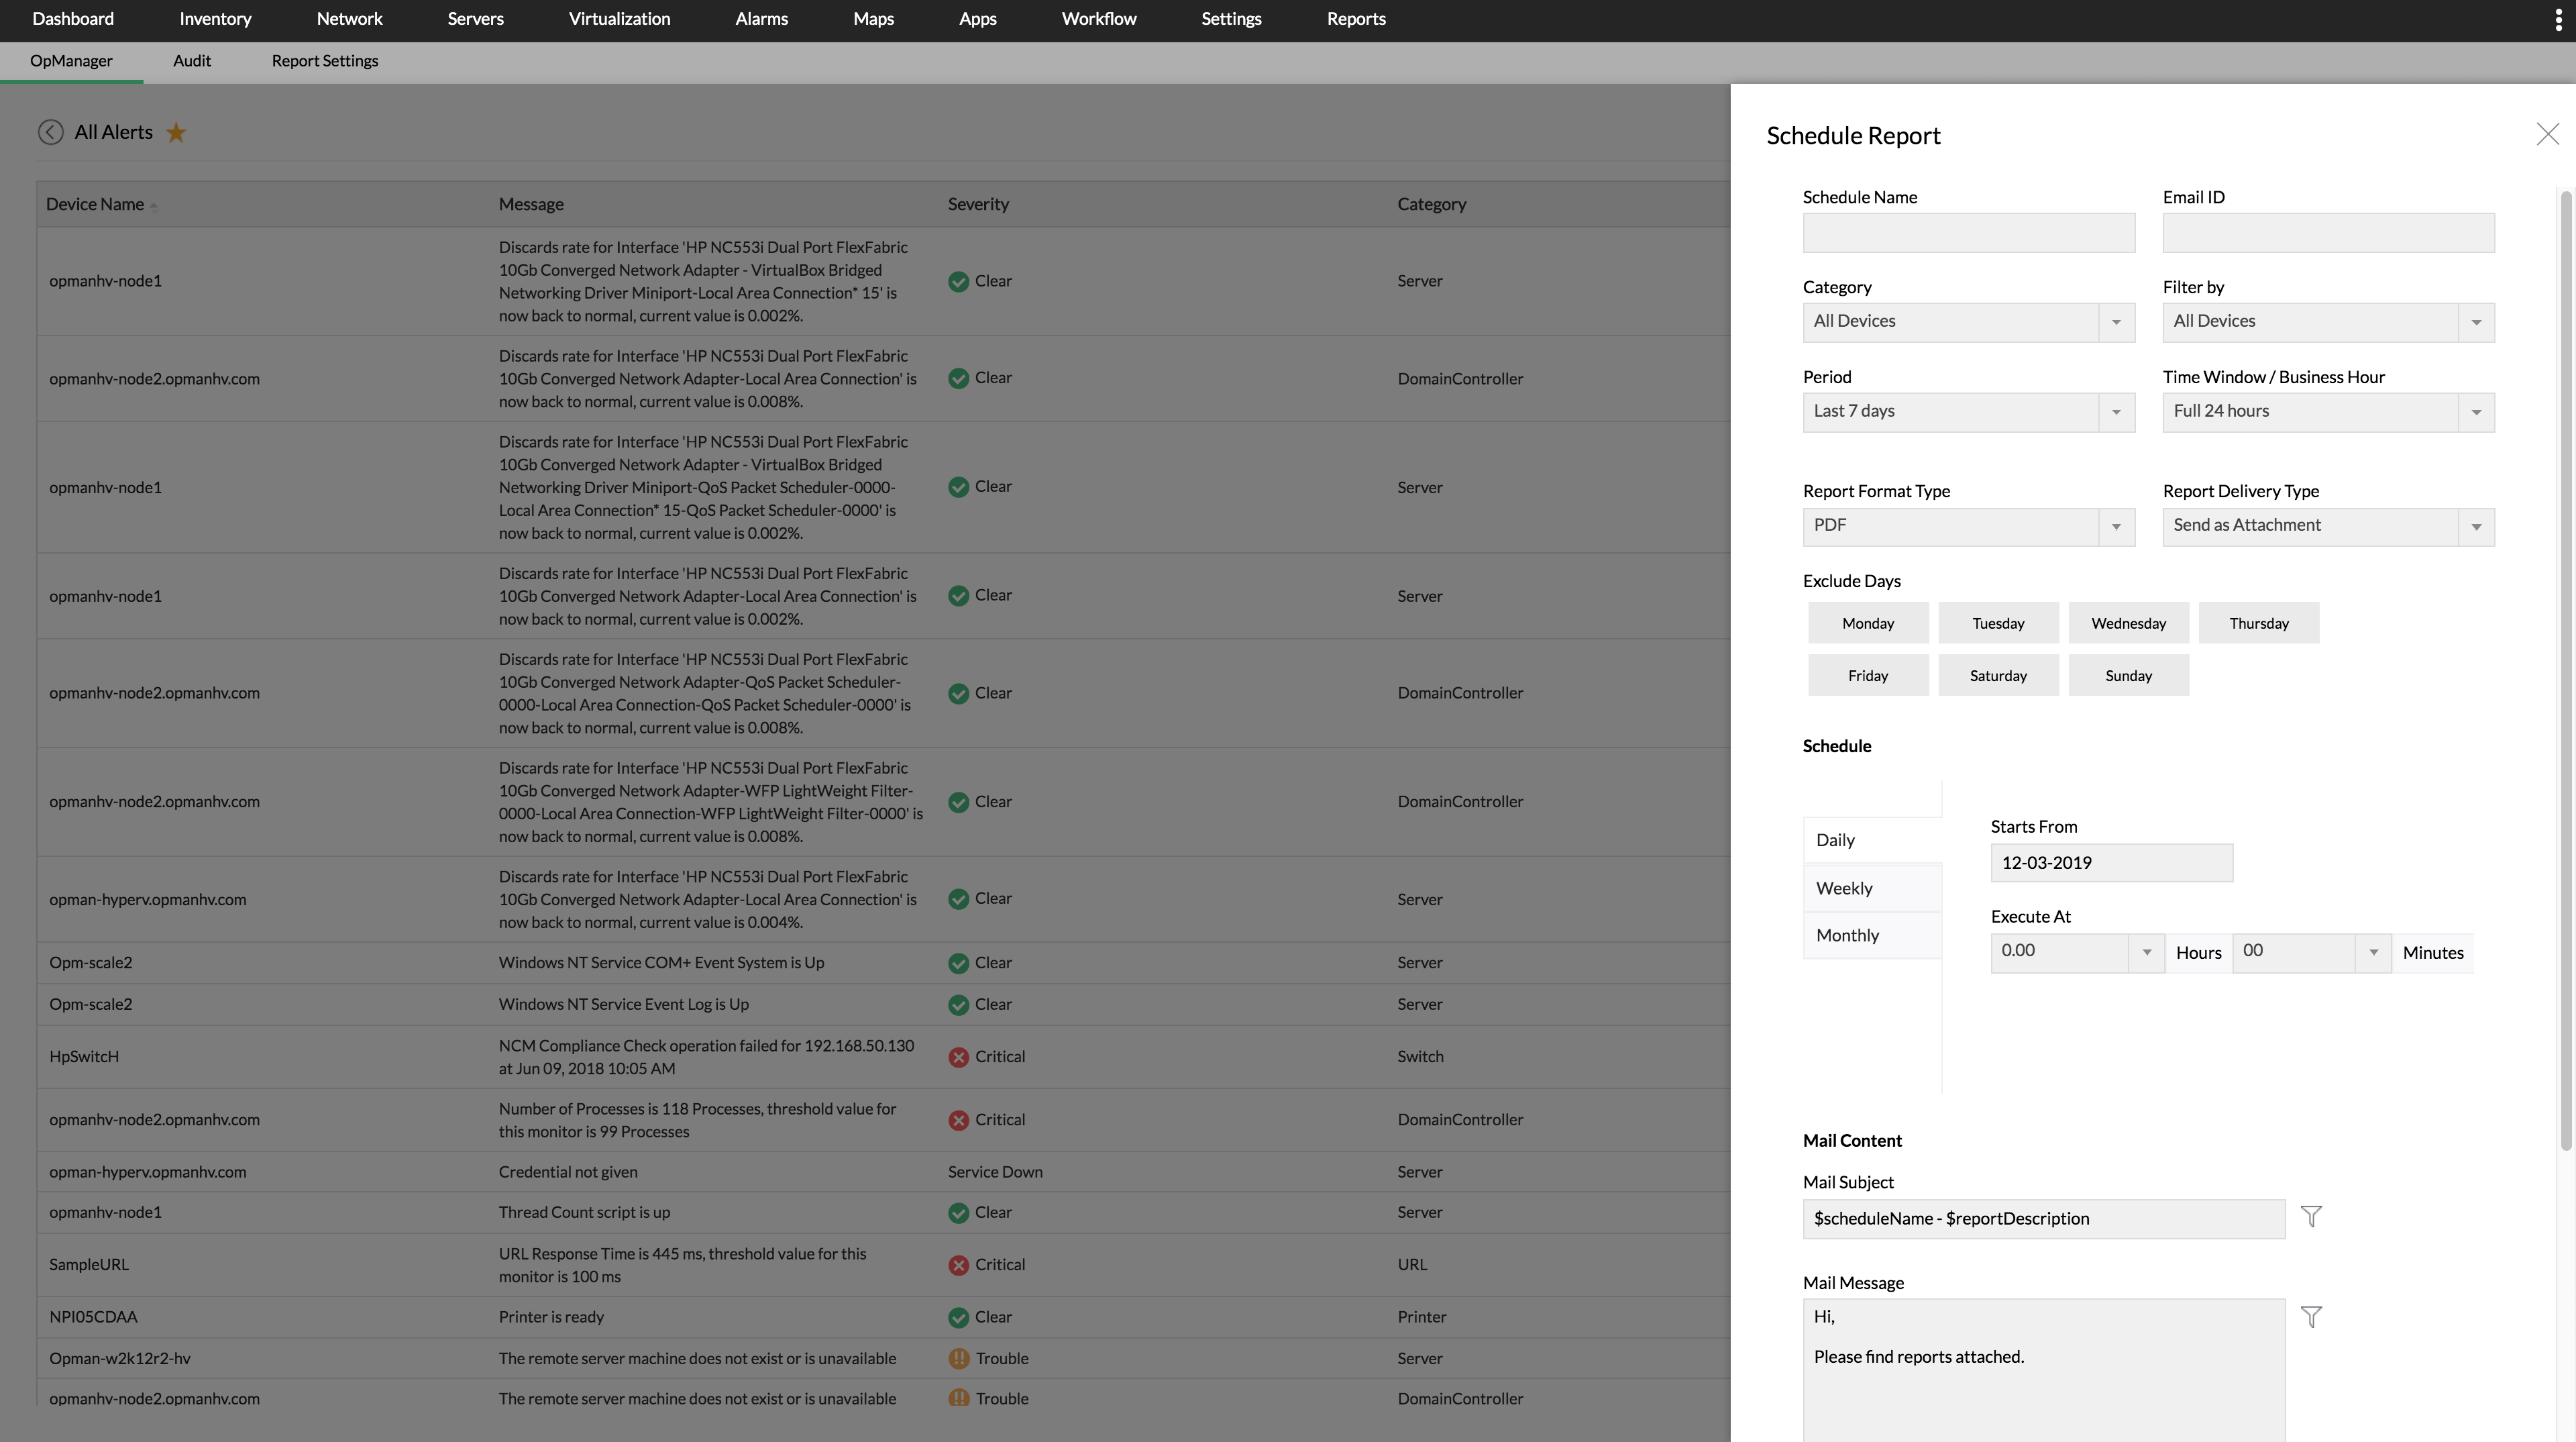
- Click Save to create a schedule for the generated report.
View the Scheduled Report
- Go to Reports → Schedule reports
- Click against the View icon on the required report that you wish to see.
- The list of generated reports for the selected report will appear.

From OpManager versions 126262, a user will be able to view only the scheduled reports that come under the scope of the assigned User Role.
Configure Business Hour Rules
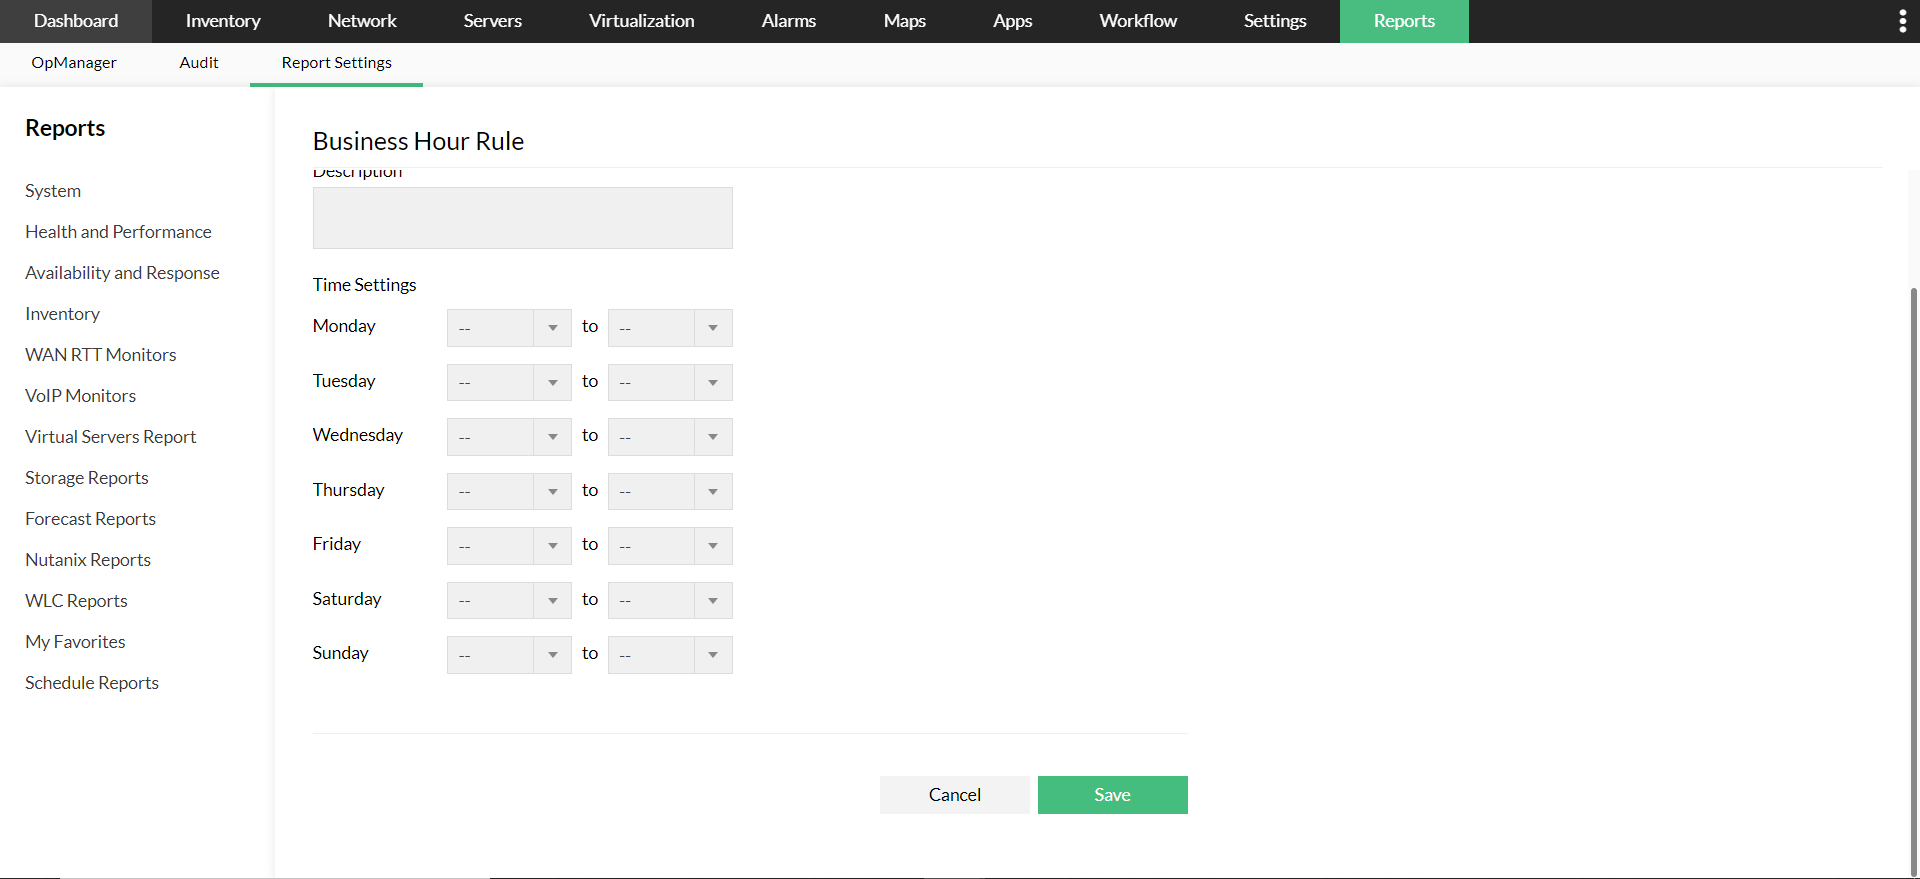
You can configure the Business Hour Rule in OpManager to filter out and view only the reports generated within the business hours of your organization.
- Navigate to Reports-> Report Settings-> Business Hour Rules.
- Click on Add Rule.
- Provide a Name and Description.
- Select the time duration from the drop down for each day.
- Click on Save.
Disable or enable scheduled report in bulk
- Navigate to Reports --> OpManager --> Scheduled Reports.
- Select the reports that you want to enable/disable by checking the box left adjacent to the Name of the report.
- Click on Enable/Disable available on the top to update the list.
- Once updated, a banner message will appear on top as 'Values updated successfully'.
E-mail default reports in OpManager
- Navigate to Reports --> OpManager.
- Select the particular report from a report category. (For Eg: Availability and Response --> Web Servers Availability)
- Click on More Actions on the top right corner.
- And click on Email this Report.
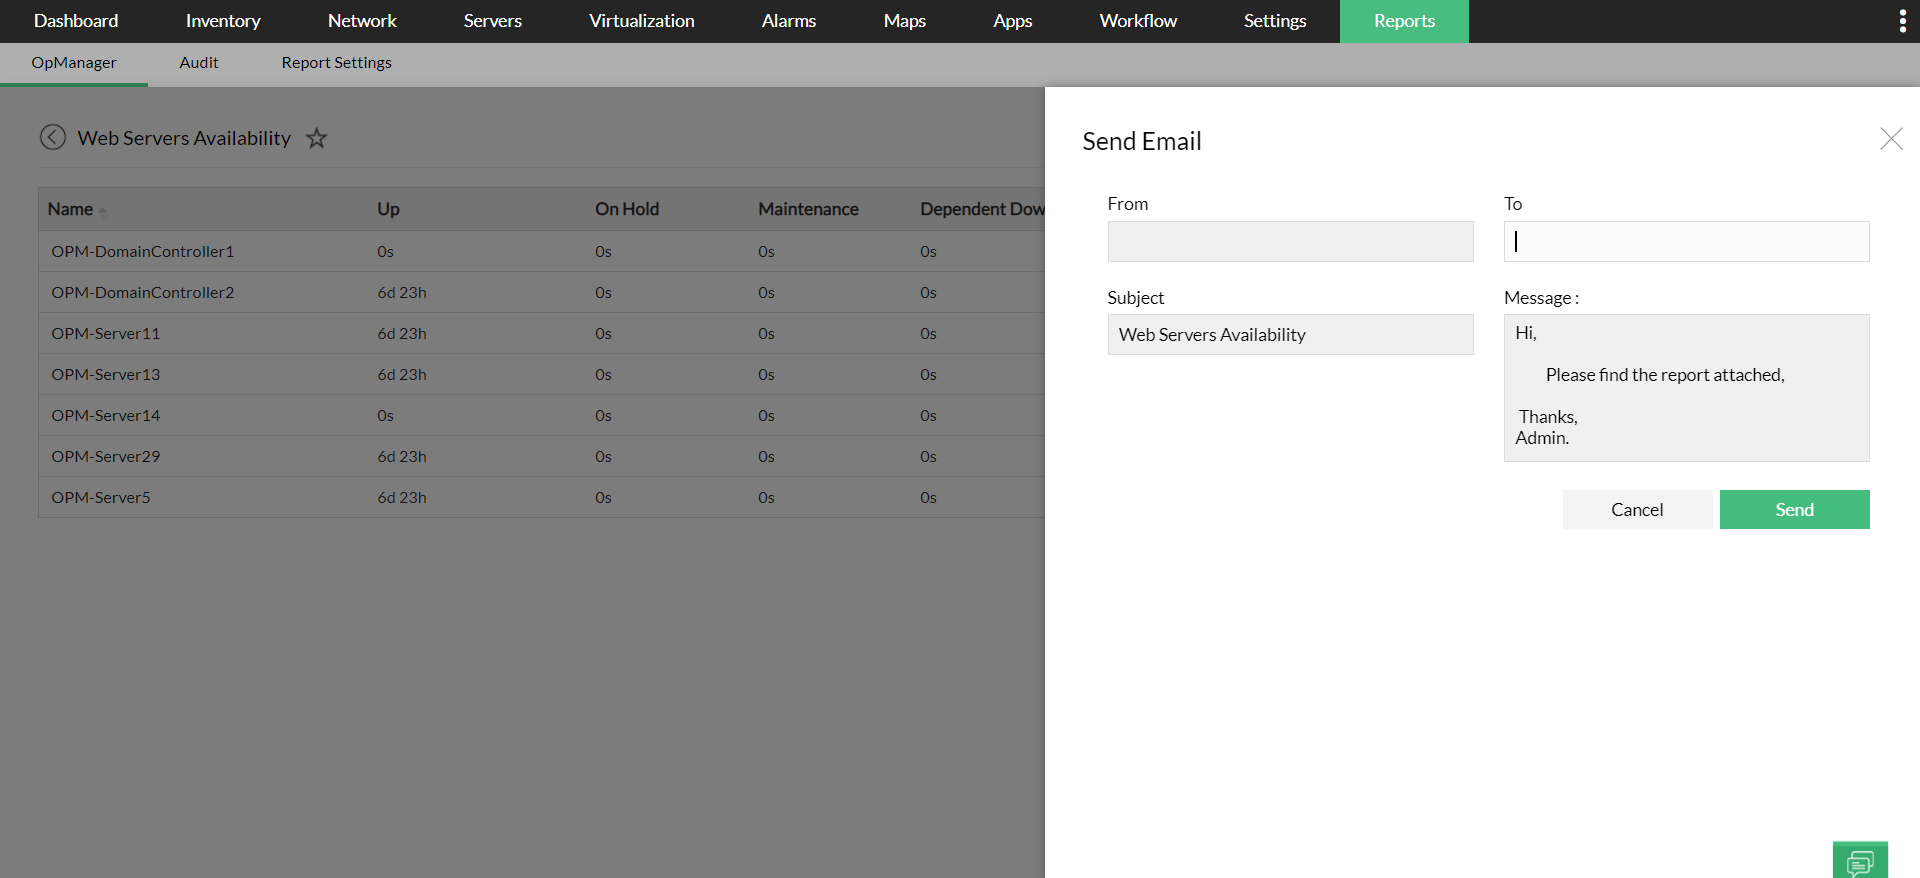
- Then enter the From and To mail IDs along with the Subject and Message.
- Finally click Send.
