Setting up Real Browser Monitoring (RBM)
Follow the steps below to set up Real Browser Monitoring (RBM) in Applications Manager.
Step 1. Configure the EUM Agent
Refer to the installation guide and install the EUM Agent at the location where you would like to perform RBM playback.
Follow the steps in the table given below to enable playback:
| Description | Firefox | Edge | Chrome |
|---|
| 1. Install the playback browser. |
Bundled by default, no additional steps are necessary. |
Edge Browser (versions 17 and above) |
Google Chrome (versions 65 and above) |
| 2. Find the playback browser version and download a compatible driver. |
Open Edge browser → More options → Settings → Scroll down to find the version. Edge driver download link |
Open Google Chrome → Settings → About Chrome → Find Chrome version. Chrome driver download link |
3. Configure the driver path in the EUM Agent web client.
(EUM Agent web client → Web driver settings) |
Provide the driver installation path in the Microsoft Edge WebDriver Path and restart EUM Agent. |
Provide the driver installation path in Google Chrome WebDriver Path and restart EUM Agent. |
| Still facing issues? Refer to the troubleshooting link. |
Troubleshooting link |
Troubleshooting link |
Troubleshooting link |
Step 2. Configure the Recorder
The browser extension captures all transactions in your application in the exact order they occur. These transactions are saved as web scripts and can be replayed at regular intervals.
To install the browser extension for the recorder, follow the steps given below:
- Login to Applications Manager.
- Navigate to Home → New Monitors → Add New Monitor → Real Browser Monitor.
- Click on the Download button, which will take you to the extension store link. Add the extension to your browser. Alternatively, you can get the extension from the respective Chrome/Firefox web store link.
Step 3. Add the RBM Monitor
- Click on the Extensions icon(
 ) in the top right corner of your browser.
- Select the Applications Manager Web Transaction Recorder. A new window prompting you to log in will open.
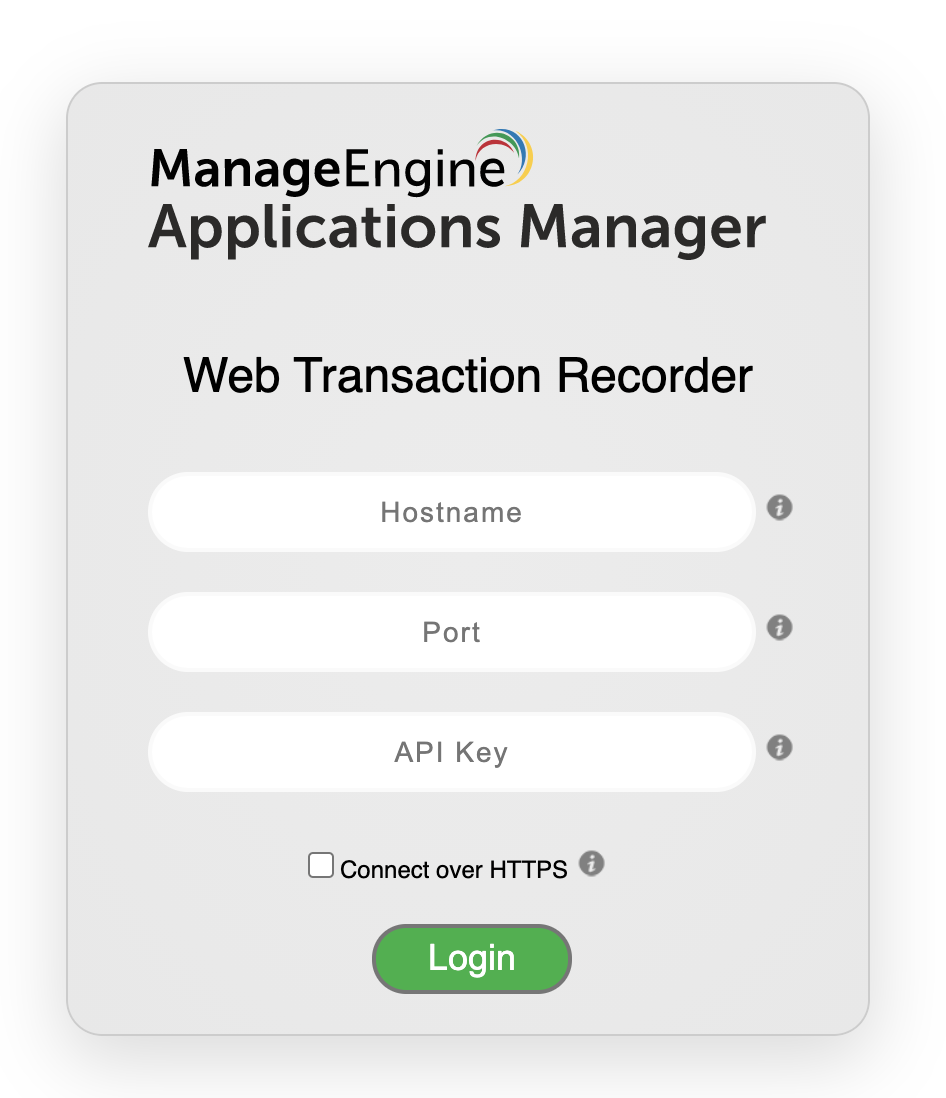
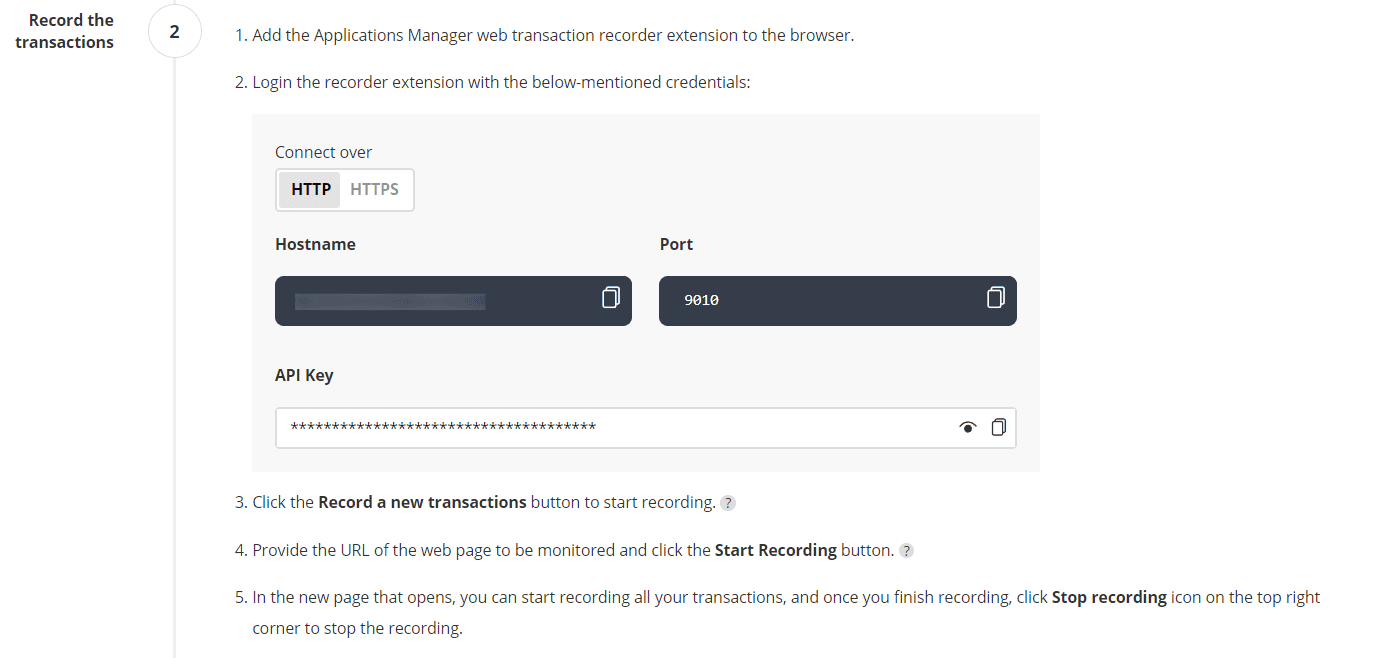
- Enter the Application Manager's hostname, port, and the admin user's API key in the login window. These details can be copied from the RBM Add Monitor page.
Note:
- Only ADMIN users are allowed to create a monitor through this extension. Hence, only the admin API key can be used for logging in.
- Steps 4 and 5 may vary based on the Applications Manager build version. For builds prior to Applications Manager v171800, certain login credential fields or configurations may differ. Please refer to your build-specific documentation for the exact login details and configuration requirements.
- Check the Connect over HTTPS option if you've chosen to connect over HTTPS in the previous step. Once the required details have been entered, click Login.
- After logging into the RBM Recorder extension, you will see a popup asking 'What would you like to do?'.
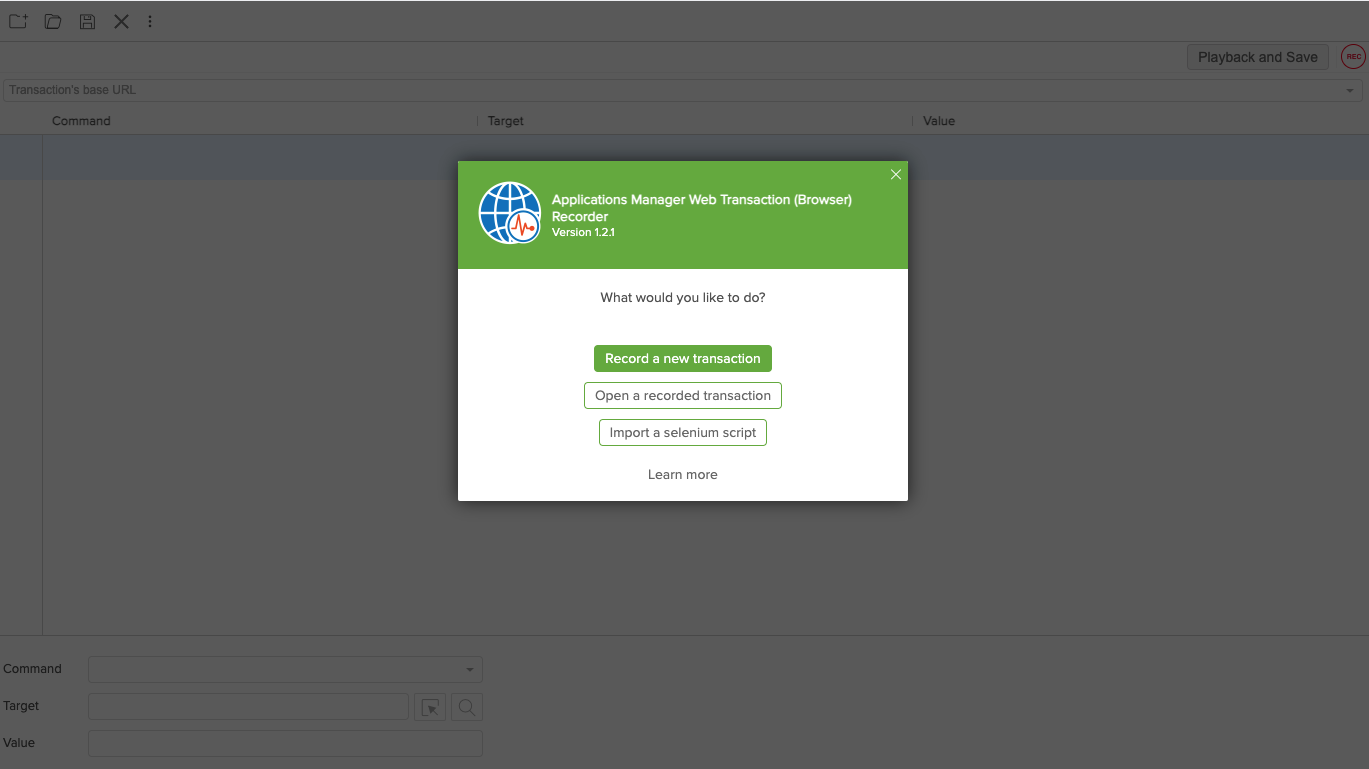
Click on Record a new transaction to create a new recording.
- Enter the full URL of the web page you would like to monitor. Eg: https://www.manageengine.com.
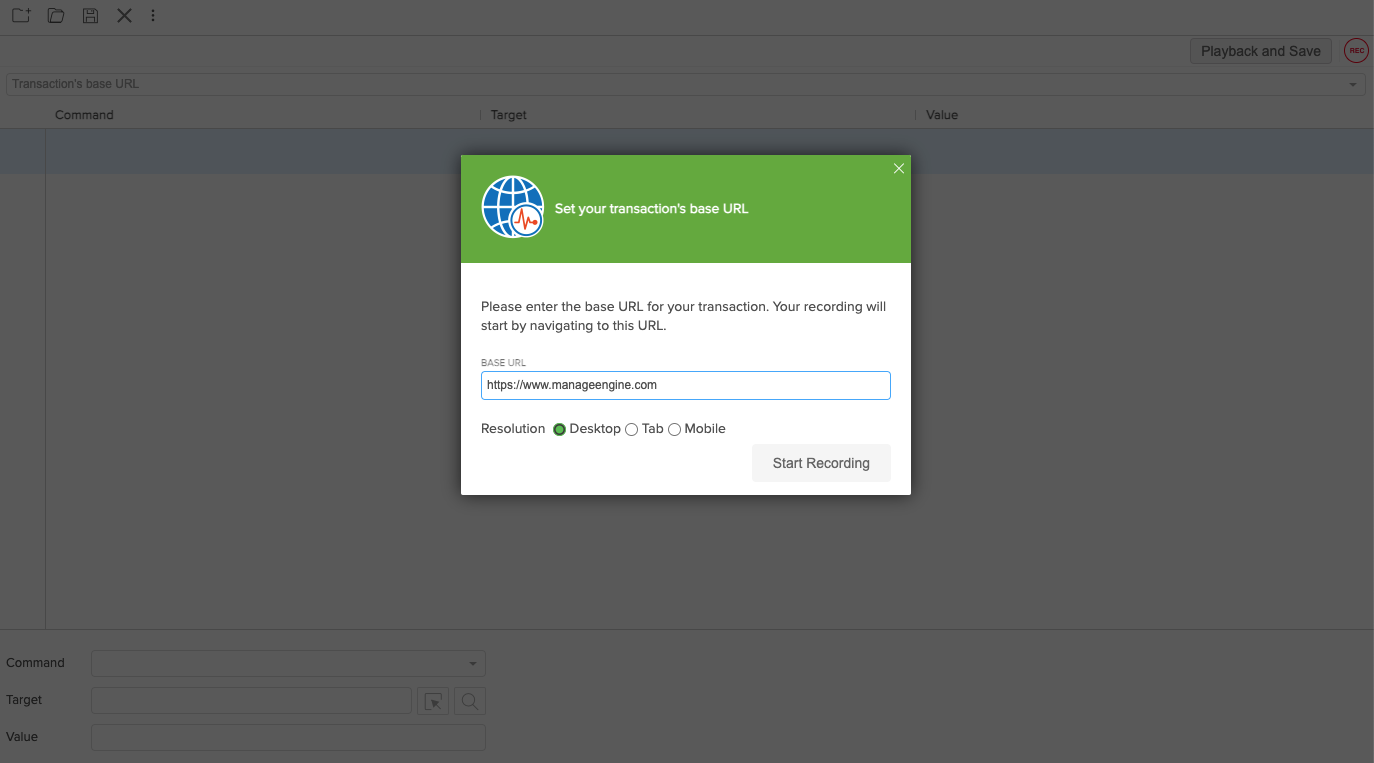
- Select the appropriate resolution based on the type of device (Desktop, Tablet, or Mobile).
Note: Support for Tab and Mobile device types is available only from Applications Manager v172200 and above, and EUM Agent v21.17 and above. For earlier versions, only desktop resolution is supported.
- Click on Start Recording and proceed to perform the list of transactions to be monitored in the web application.
- Click on the (
 ) icon on the top right to stop the recording. You can now view all the transactions recorded in the window.
- Click on the Playback and Save button to proceed further.

- Provide all the necessary details in the Preferences form.
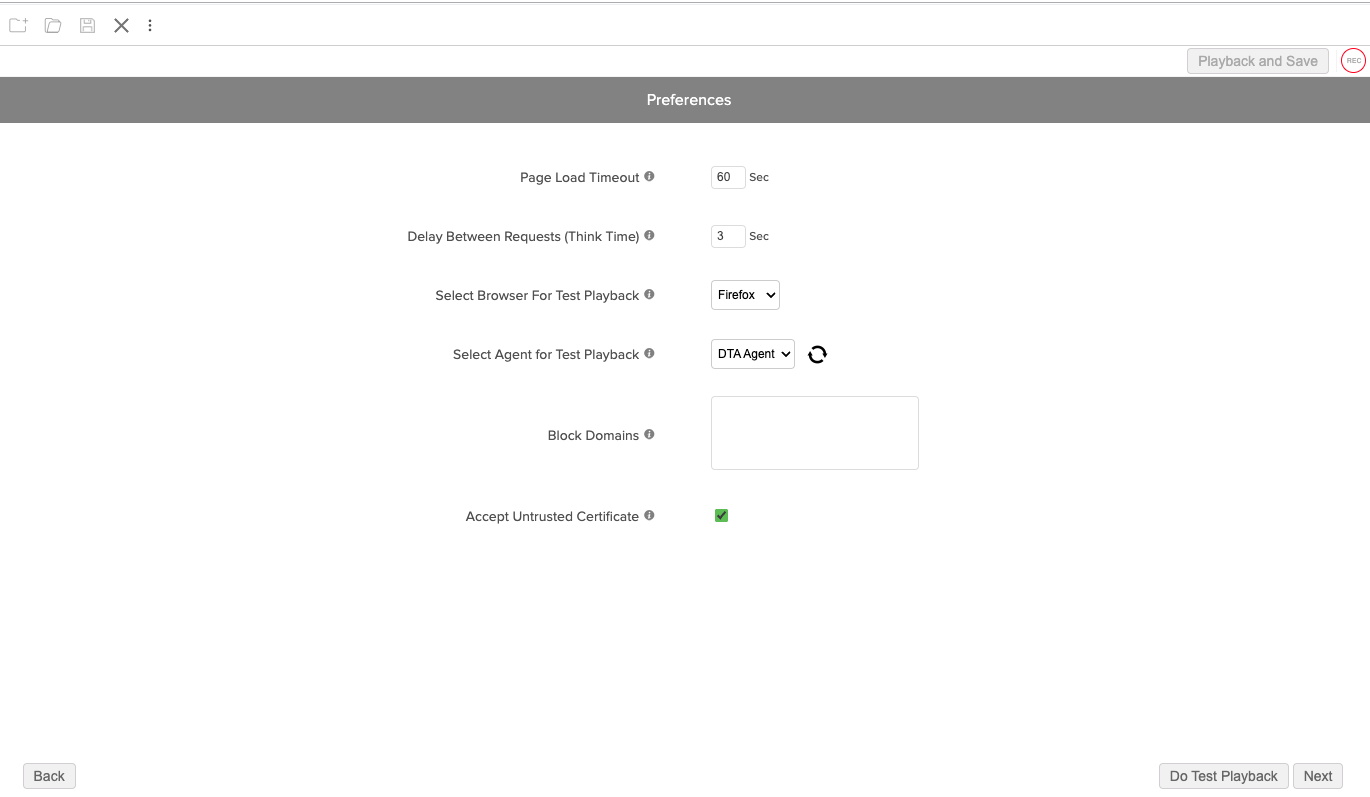
- An optional test playback can be carried out by clicking on the Do Test Playback button. You will be asked to select the agent and the browser type where you want the test playback to take place. After a successful playback click on Next.
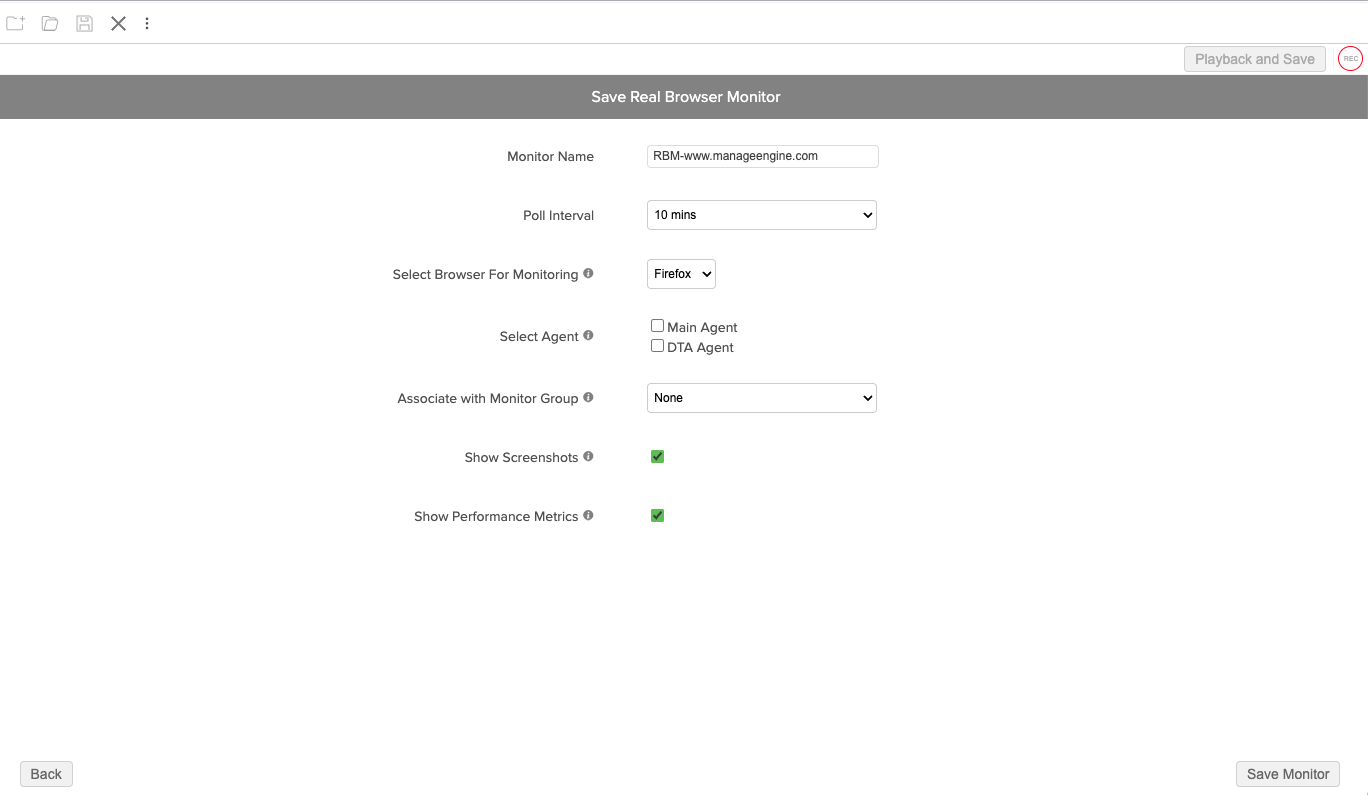
- After providing all the details, click on the Save Monitor button to successfully finish the process.
Note:
- To learn about the other functions of the RBM Recorder Extension, click here.
- Monitors created through the extension will appear in the Applications Manager instance, whose credentials you used to log into the extension.
- Users can automatically create monitors by importing HTML test cases previously recorded in Selenium IDE, avoiding the need to re-record them with our extension. Refer here to learn how to import a test case.